Organizing people in your Amplify People database happens primarily through Groups. Setting up groups well from the start keeps your information clean, makes reporting easier, and supports communication across your ministry. Here are five best practices to follow when creating groups.
1. Naming Conventions
Simple, consistent naming conventions are essential for organizing and finding groups. They help you and your team locate the right groups quickly and keep your People database easy to manage.
- Keep group names short: 1 to 2 words when possible.
- Student Ministry → STUDENTS
- Adult Small Groups → SMALL GROUPS or SG
- Various age groups → AGE GROUP - 5th Grade
- Groups are sorted alphabetically by default. To pin a group to the top of the list, start its name with a special character such as * or -. For example: *Status - Member.
- Typing an abbreviation in the Search Groups box filters the list to groups that match the abbreviation.
- Group names used for Check-in appear on both the name tag and the security tag.
2. Status Tracking
After establishing your naming conventions, track each person's status in your database. A person's status represents their primary relationship to your ministry and is used for most mass communications and workflows.
Note: You can also track status using Configurable Fields. Create a Text Field called "Status" with a Select List Input Type. The options for this field would include "Member," "Visitor," etc. Use either Configurable Fields or Groups for status tracking, not both.
- Create a group for each status. Examples:
- Status - Guest
- Status - Regular Attender
- Status - Member
- Status - Contributor Only
- Status - Friend of the Community
- Status - No Longer Attending
- Status - Deceased
- Add others as needed, but keep the list as simple as possible.
- For children, consider using Status - Guest or Status - Regular Attender to match the parent's status, or a dedicated status such as Status - Child Attender.
- Status groups are useful when sending mass communications and building workflows.
- Start status group names with a special character (such as *) so they appear at the top of the group list when viewing a person's record. For example: *Status - Member.
- To change someone's status, move them to the appropriate status group and set the Joined Date to the date of the change. This does not need to be today's date.
- You can build a Workflow to automatically move someone to the next status group. For example, if a guest has attended four times, automatically add them to Status - Regular Attender and remove them from Status - Guest.
- The Created Date field records when a person first interacted with your ministry.
3. Aggregate Groups
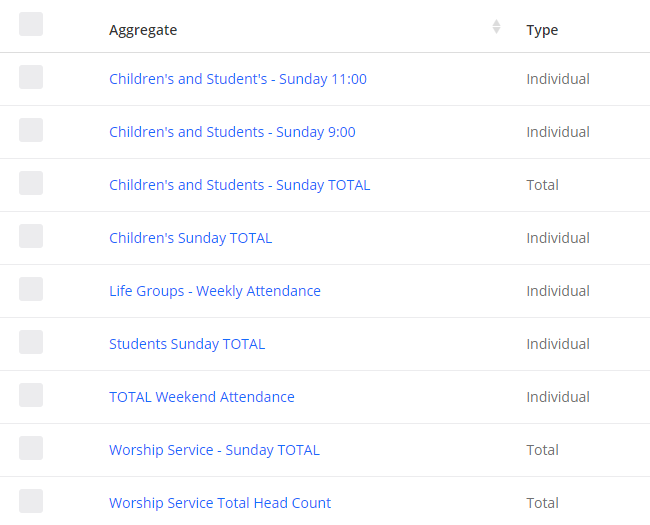
Use aggregate groups to see quick attendance totals across multiple groups, such as Children's Ministry or Small Groups.
- An aggregate group can combine only groups of the same attendance type: either all Individual-based or all Summary-based. You cannot mix the two types within a single aggregate.
- You can, however, create an aggregate of other aggregates, and those can be mixed types. For example:
- Create Total Children's as an aggregate of Individual-based attendance groups.
- Create Total Worship as an aggregate of Summary-based attendance groups.
- Create Total Weekend as an aggregate of Total Children's and Total Worship.
- Common aggregate group examples:
- Total Children's Attendance
- Total Adult Attendance
- Total Weekend Attendance (an aggregate of the Children's and Adult aggregates)
- Total Small Group Attendance
- Midweek Attendance
- 9:00 Preschool Only
- 9:00 All Children
- 11:00 All Children
4. Group Properties
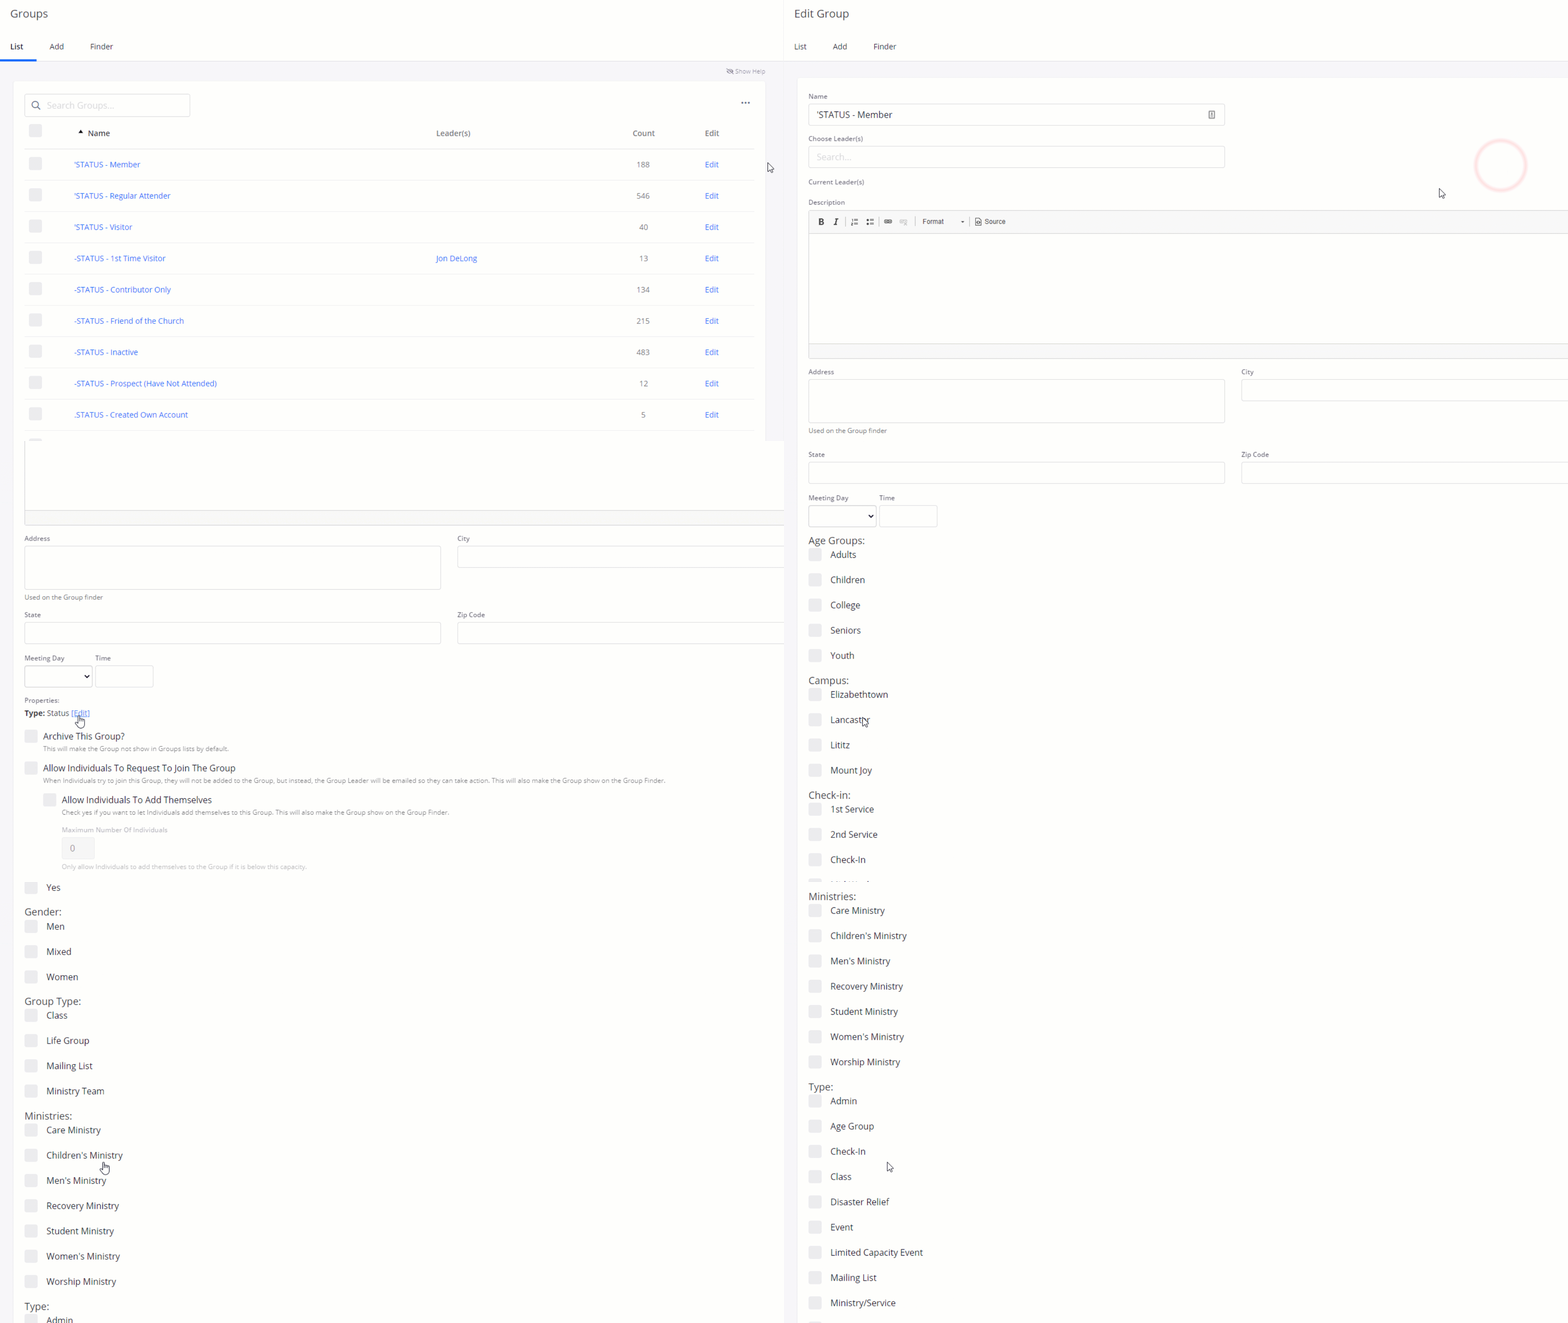
Configure group properties in the settings area to filter groups and build more targeted attendance reports. While naming conventions are essential for organizing and finding groups, properties offer additional capabilities — such as applying specific user rights — that naming conventions alone cannot. Use both together for the best results.
A group can belong to multiple categories with multiple properties. For example, Smith's Home Group could have a Type of Small Group, an Age of Adults, and a Campus of Campus B.
5. Group Finder
Group Finder allows people to browse and request to join groups. It can be published on your public website or made available only to people with accounts in your People database.
- People can view groups in a list or on a map. Set the default view in Settings > Groups > Group Finder.
- Group Finder can also be used for Ministry Teams and Classes, helping people find opportunities to serve or learn.
- Common filter options include Campus, City or area of town, and Meeting Time (early morning, morning, lunch, afternoon, or evening).
- Two sign-up options are available in the group settings:
- Allow people to request to join the group (Recommended): The person enters their name, email address, and phone number. That information is emailed to the group leader for follow-up.
- Allow people to add themselves to the group: Typically used for a once-a-year major sign-up event.
Updated